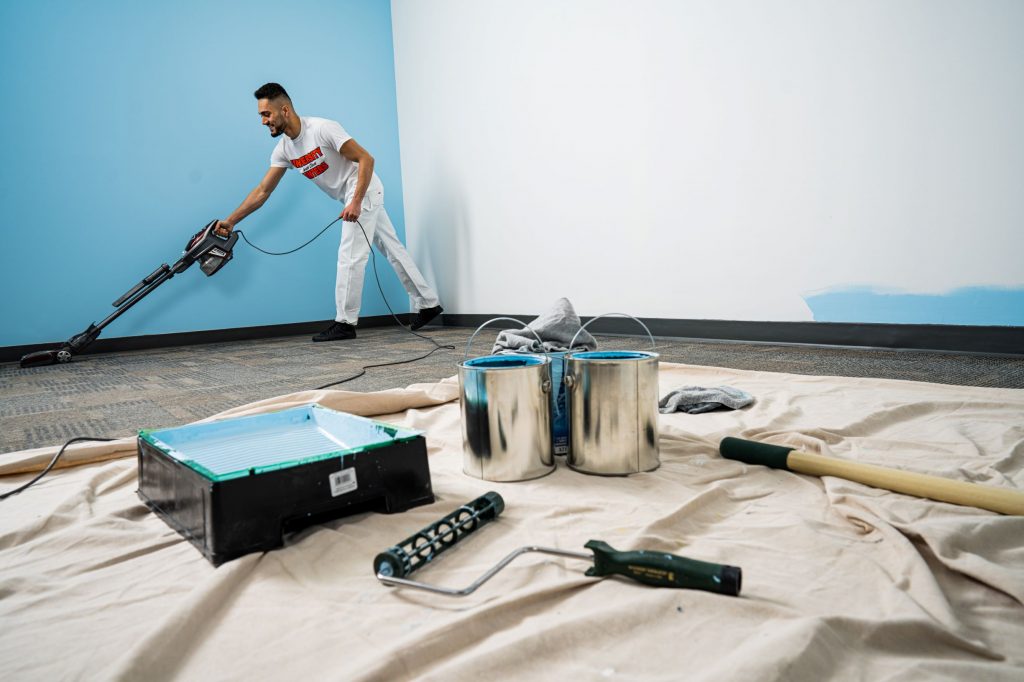
UFCP Client Requests

Calgary: 403.290.1384

Edmonton: 780.431.1235

Halifax: 902.455.4448

Vancouver: 604.326.5601

Victoria: 250.388.0832

All other cities: 1.800.406.0014

Phone Numbers

Toll Free: 1.800.406.0014

Local: 1.902.455.4448

Fax Toll Free: 1.888.724.6888

Fax Local: 1.902.422.7742

Email Address

General Inquiries:info@ufcp.ca

Estimate requests:estimates@ufcp.ca

Guarantee inquiries guarantee@ufcp.ca

Head Office

3667 Strawberry Hill Street, Suite 101
Halifax, NS
B3K 5A8

Painting Tips from Professional Painters

University First Class Painters is dedicated to providing a quality service to all of our customers. We follow the most stringent guidelines as set out by our president, Mike Beneteau, in his publication The Professional Painters Handbook. We are happy to share some of his tips to make your paint job a success.

Preparation

Preparation is the KEY to any long-lasting paint job. A solid base must be established by scraping and/or power washing until all loose and peeling paint has been removed. Once you have brought the surface to a solid base, you must replace any missing caulking and create a tight seal around any windows and trim boards.
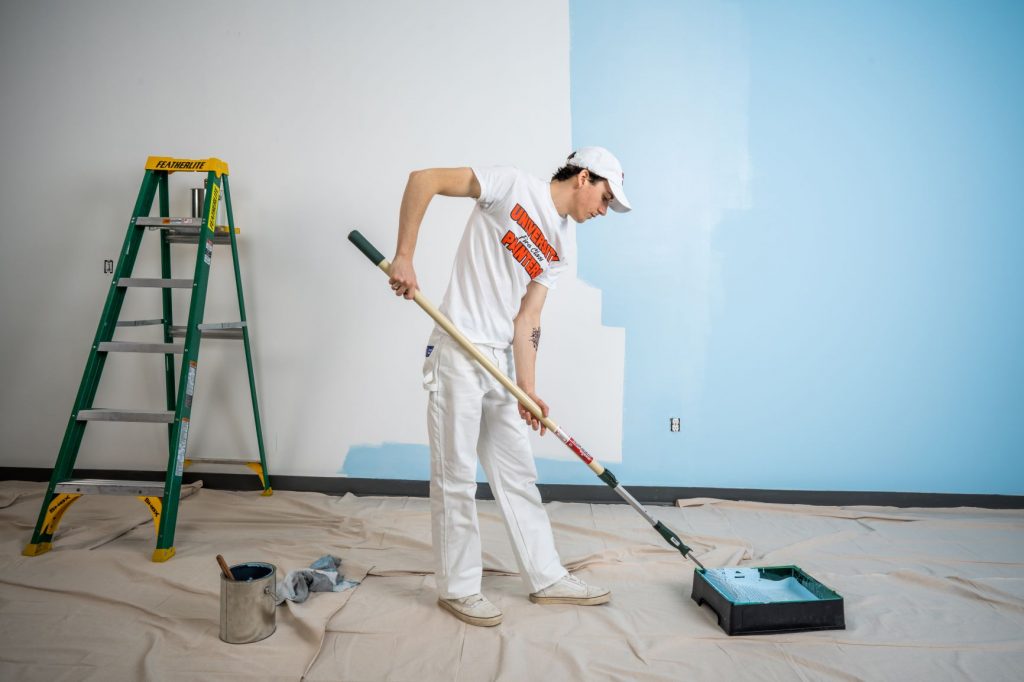
Cut & Roll

When painting any large surface areas, you must first use a paintbrush to ‘cut in’ any edges of an area before you begin rolling. When cutting in is done, you should use roll out any large surface areas. It is important to roll into the cut line as close to the edge as possible to avoid a noticeable difference in the texture of brush painting and rolling in the finish.
interior painting services

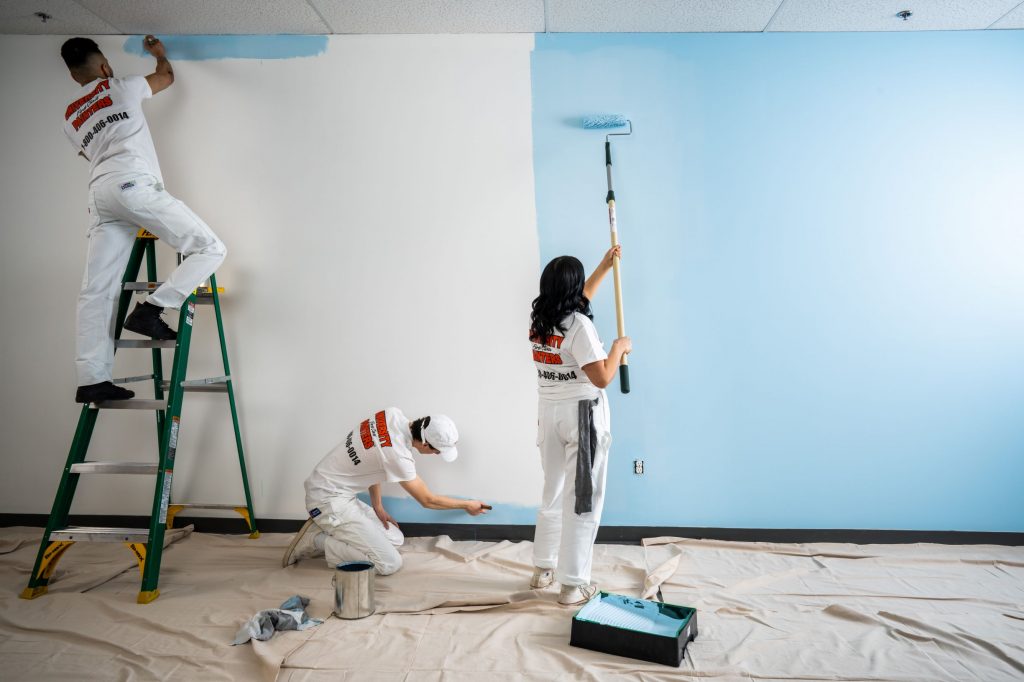
Ceilings First, Trim Second, Walls Last

When completing an interior painting project, you must paint the ceilings first. There are two main reasons for starting with the ceiling:

  1. Reducing the risk of splatter on newly painting walls
  2. To allow overlap onto the walls in order to simplify an easy, straight-line cut between the wall finish and ceiling edge.
Trim will be completed after the ceiling (once again to avoid the risk of splatter and to ease the application of crisp straight cut lines). Only once the ceilings and trim are complete will wall painting commence.

Exterior Stains

If possible, work mainly in the shade when completing an exterior staining project in order to avoid any lap marks. It is very important that the stain does not dry in the middle of a board during application. To avoid this, treat only one or two boards at a time and ensure that you are fully painting one board from side-to-side OR from top-to-bottom before moving to the next.

Painting Ceilings

In there is a window in the room in which you are painting a ceiling, be sure to keep this light source at your back and begin paining away from the window. This will allow you to see any missed areas and avoid lap marks. In cases where there is more than one window in a room, be sure to keep the largest window at your back.

painting process

Acrylic Paint Application over Alkyd Paints

Regardless of manufacturer claims, it is highly recommended that you perform buff sand over any areas on which you will be applying an acrylic paint directly over an alkyd paint.

Dark Colours

Exercise caution when painting with dark colors in direct sunlight or on a hot day. Heat and/or sun may cause the paint to develop a skin on its surface which will trap solvent. Blisters will form on the paint surface when the solvent tries to escape. To repair these blisters, you must sand and repaint the entire surface.

Solvent Soaked Rags

It is of utmost importance that solvent-soaked rags (such as those used with paint thinner or wiping stains) be disposed of properly, otherwise there is a significant risk of FIRE and SPONTANEOUS COMBUSTION. These rags must be spread out to dry OR soaked in water and put into a closed metal container.

Dry Your Brush

Before using a brush that you have just recently cleaned with water, it is smart to use a hair dryer to remove any excess water that may remain on the brush. Excess water on the brush may cause the paint to become diluted and run down the brush handle while painting. If you have cleaned your brush with a mineral cleaner, dry the brush with paper towels as thoroughly as possible. Be sure to lay the paper towel out to dry before disposing of.

The Stripping of Old Paint

Historically, torches were used to remove old paint and renew a surface. This practice is no longer used and is not covered under most insurance policies. It is generally more cost-effective for a homeowner to replace the surface in question rather than stripping the paint from an older exterior or interior surface.

Resealing the Can

A paint can may be difficult to reseal when there is paint trapped in the rim of the paint can. To avoid this problem, create 5-6 nail holes around the rim where the lid sits after opening, and before using, a new can of paint. These holes will allow the paint to drain back into the can rather than pooling in the rim.

Invest in a Good Brush & Roller

A good quality brush and roller are just as important as a good quality paint. May low-quality brushes will lose bristles and will not hold as much paint making it harder to use to cutting in. Low-quality rollers will often matte and leave an uneven finish on the surface.
painting services

Keep a Wet Edge

It is important to always keep a wet edge while painting by working from a dry surface back into the wet paint. If you must take a break while in the middle of a painting project, do NOT stop in the middle of a wall. Instead, stop while you are in a corner. Stopping in a corner will help avoid any lap or roller marks in the finished product.

Major Colour Change

There is a misconception that when your home is undergoing a major colour change from dark to light you will require a primer before the first coat of finish. In reality, white, white base and some medium tint bases are better for this type of major colour change.

Colour Chips

Be aware that most paint suppliers will provide a paint chip in a low sheen finish. Many home owners are then shocked to see how different the colour they’ve chosen looks in an eggshell or semigloss finish. You must simply wet the colour chip to see what the colour will look like in an eggshell or semigloss finish.